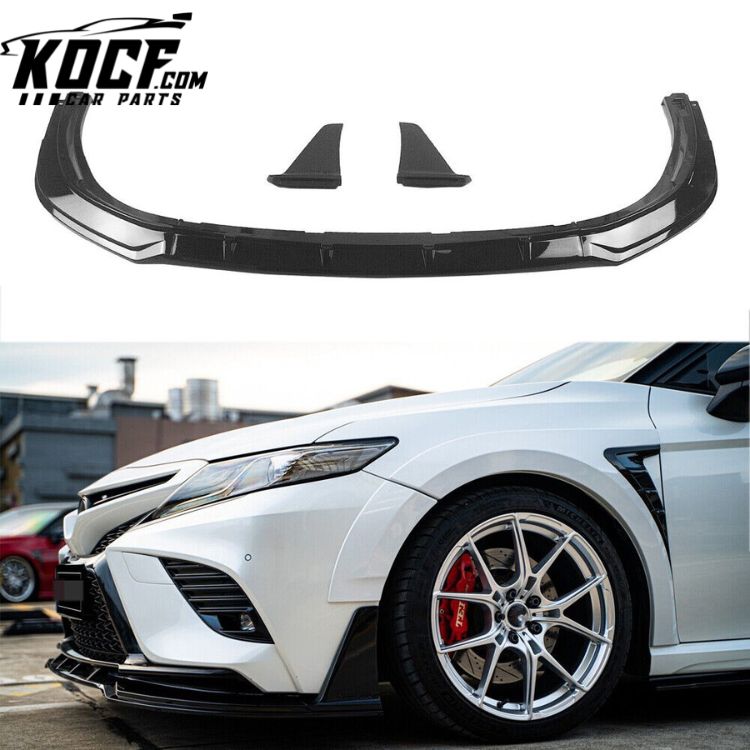
Adding a carbon fiber front splitter to your vehicle is a great way to give it a sporty and aggressive look. It also serves to increase downforce on the front of the car, which can improve handling and stability. If you're looking to give your vehicle a stylish upgrade, a carbon fiber front lip is a great option.
The installation process for a carbon fiber front splitter is not overly complex, but it does require some preparation. You'll need a few basic tools, such as a socket set, wrenches, screwdrivers, and a drill. To start the installation, you'll need to remove the existing front lip or bumper. Once that's done, you can attach the splitter to the bottom of the bumper using the included mounting hardware. It's important to make sure that the splitter is securely attached, as it can be damaged if it's not mounted properly.
Once the splitter is in place, you'll need to drill holes in the appropriate places. These holes will be used to mount the splitter to the bumper. Make sure to use the correct size drill bit for the job, as this will help to ensure a secure fit. After the holes are drilled, you can use the included hardware to attach the splitter to the bumper.
Once the splitter is in place, you'll need to do some finishing work. This includes sanding down any rough edges and applying a protective sealant. This will help to keep the splitter looking good for years to come.
Adding a carbon fiber front splitter to your vehicle is fairly straightforward and can be completed in a few hours. It's important to take your time and make sure that the splitter is properly mounted and sealed. Doing so will ensure that your vehicle looks great and will provide improved performance for years to come.